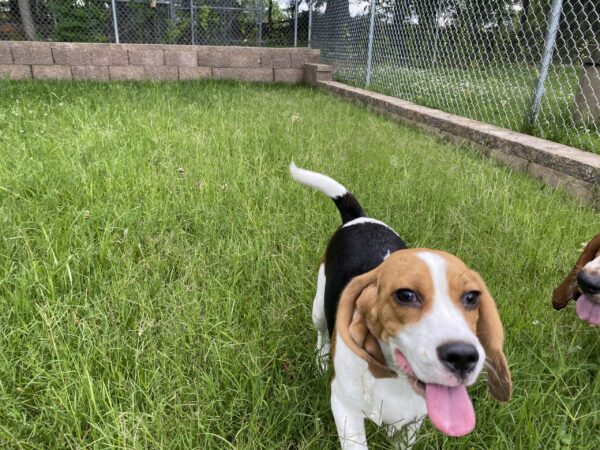
Your Paw-fect Natura® Installation Guide
Step by step instructions to install and enjoy Natura.
Whether you’re aiming for a quick fix or ready to channel your inner landscaper, Natura has your back (and your yard). Choose your installation adventure and discover just how easy it is to leave mud in the dust.
The beautiful thing about Natura is that it is “working” when it simply elevates your dog’s paws above the bare ground and mud. But when you want to get the most out of the hybrid turf, you can invest more time into preparing the soil beneath Natura and taking additional time to install it. In the end, they all work, but the level of effort and “perfection” is up to you, and what you want the project to look like along the journey.
Choose Your Installation Level and Style – for each step of the process
We’ve broken down your options by level of effort needed for your each step:
QUICK FIX:
Easy Peasy Paw-sibility
You just want to get rid of the mud. You are not handy and don’t worry too much about how it looks, as long as it works. Look for the QUICK FIX green tabs.
WEEKEND WARRIOR:
DIY Delight
You may not be much of a gardener, but you can use simple lawn tools and you are willing to put a couple hours into the project. Look for the WEEKEND WARRIOR orange tabs.
YARD KING:
Masterclass in Pawsomeness
You will take the time to do it right. You want it to not only work, but it has to look great – you have neighbors and inlaws to impress! Look for the YARD KING gray tabs.
Step 1: When To Install
Quick Fix
If the ground is not frozen or baked hard as a biscuit.
Weekend Warrior
When the ground is not granite and when your seed brand recommends grass growth.
Yard King
When the ground is not frozen and follow expert opinions on the best time to grow grass in your climate.
Step 2: Tools You Will Want
Quick Fix
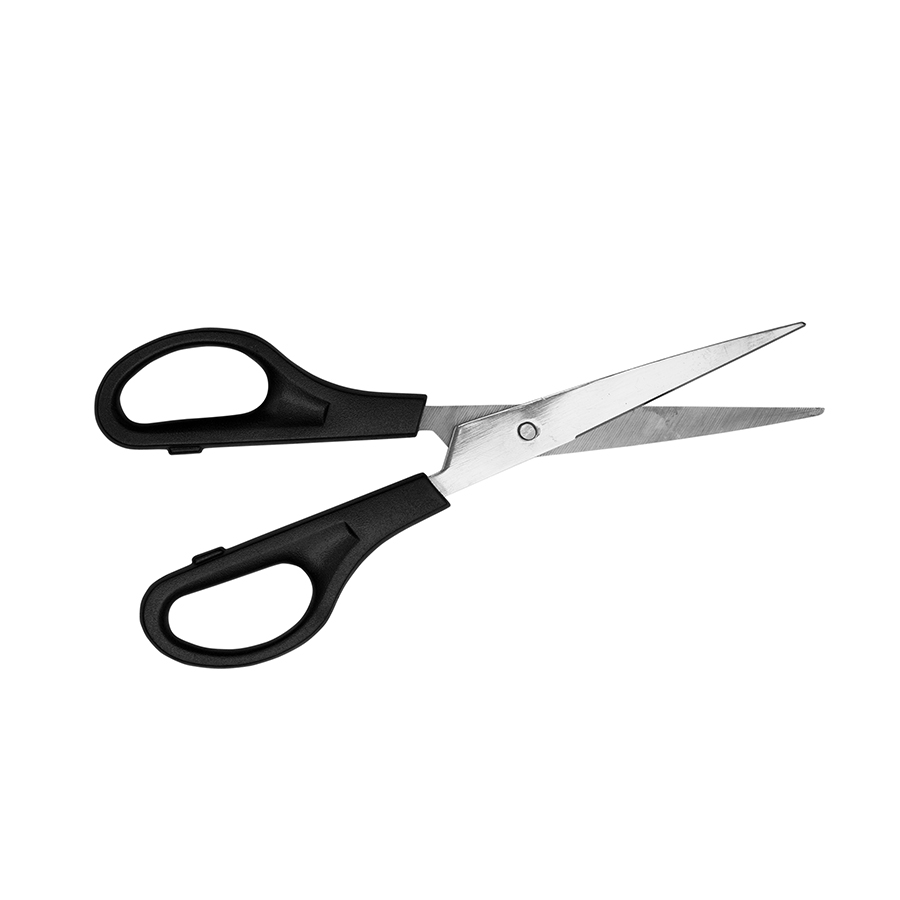
Scissors
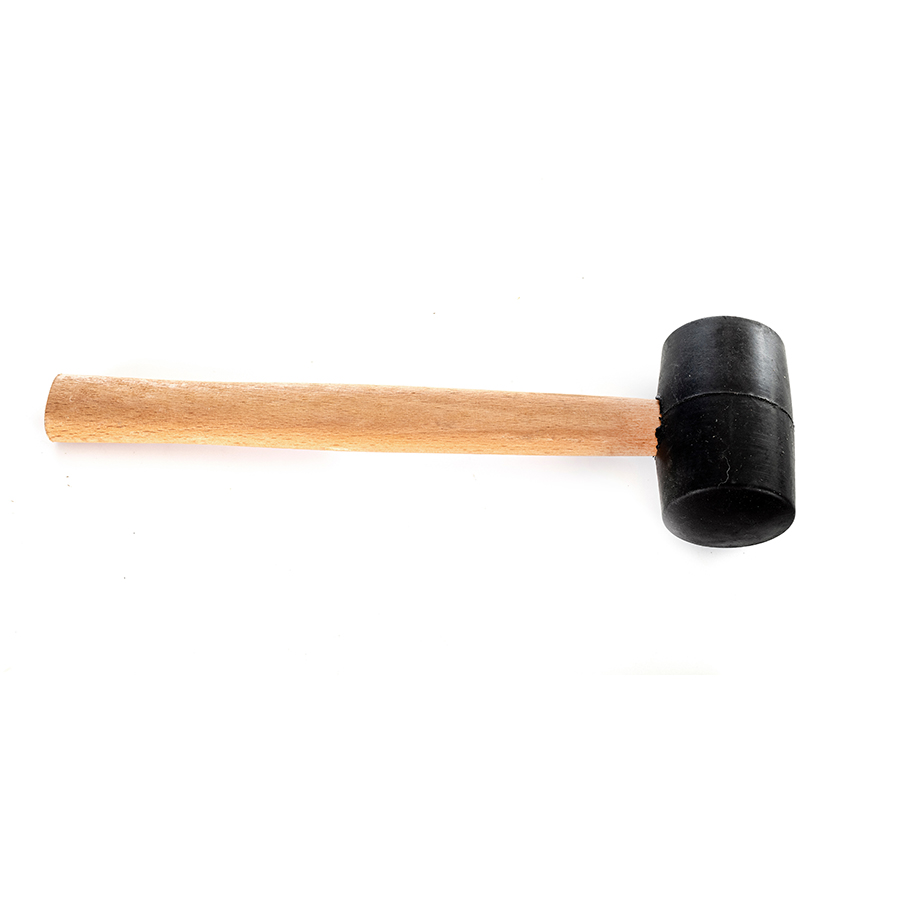
Rubber Mallet
Weekend Warrior
Scissors/Shears
Rubber Mallet
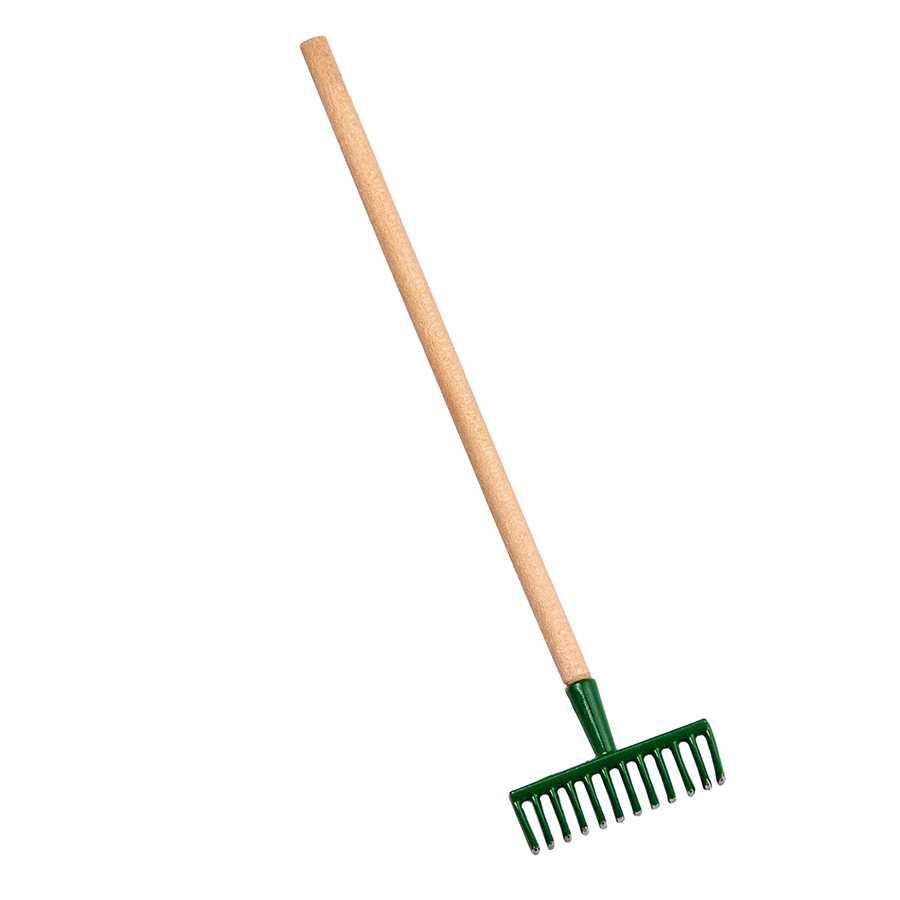
Garden Rake
Yard King

Shears
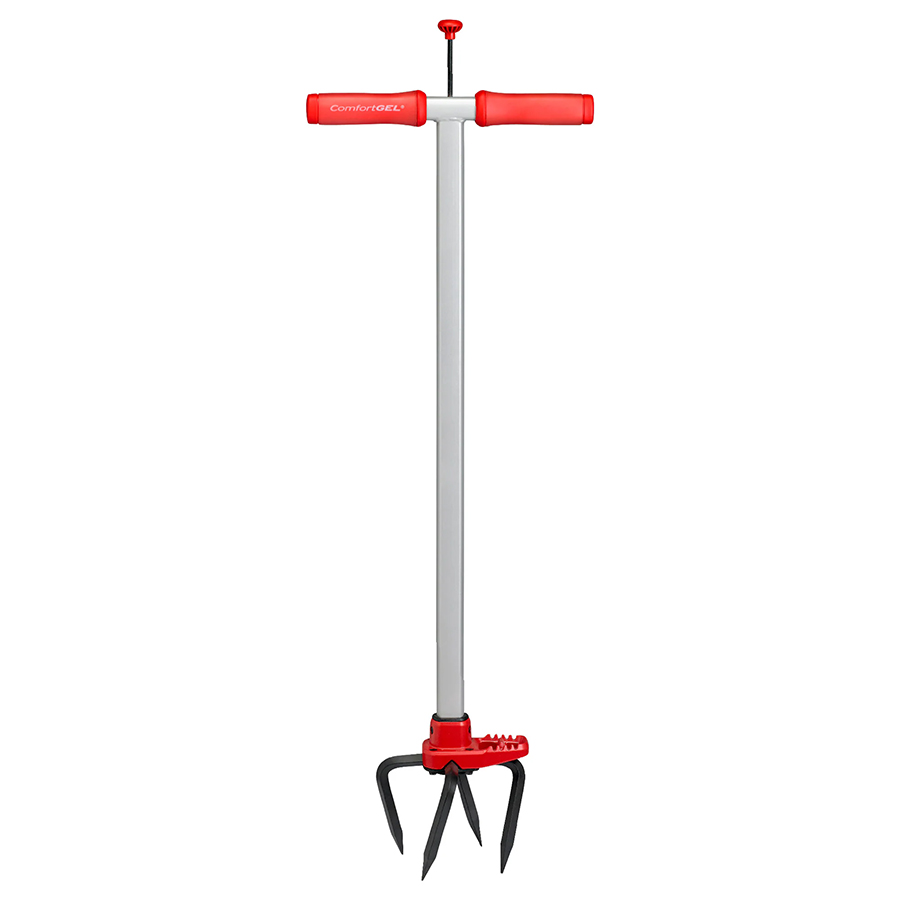
Tiller
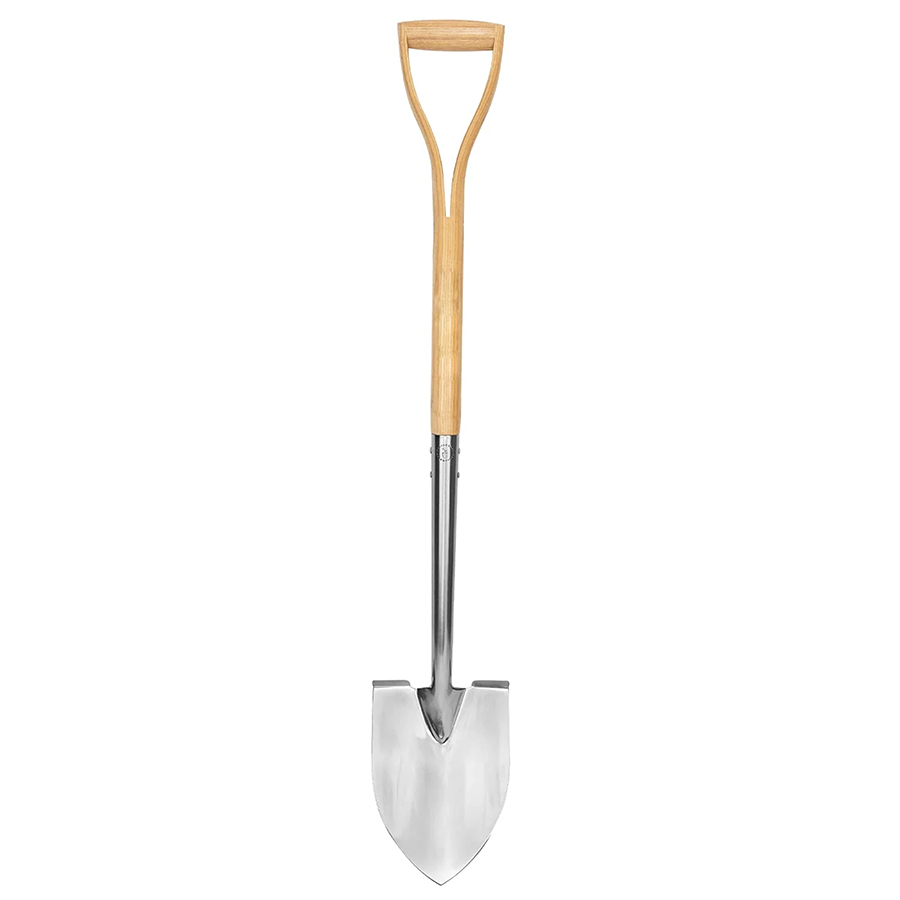
Spade
Rubber Mallet
Garden Rake
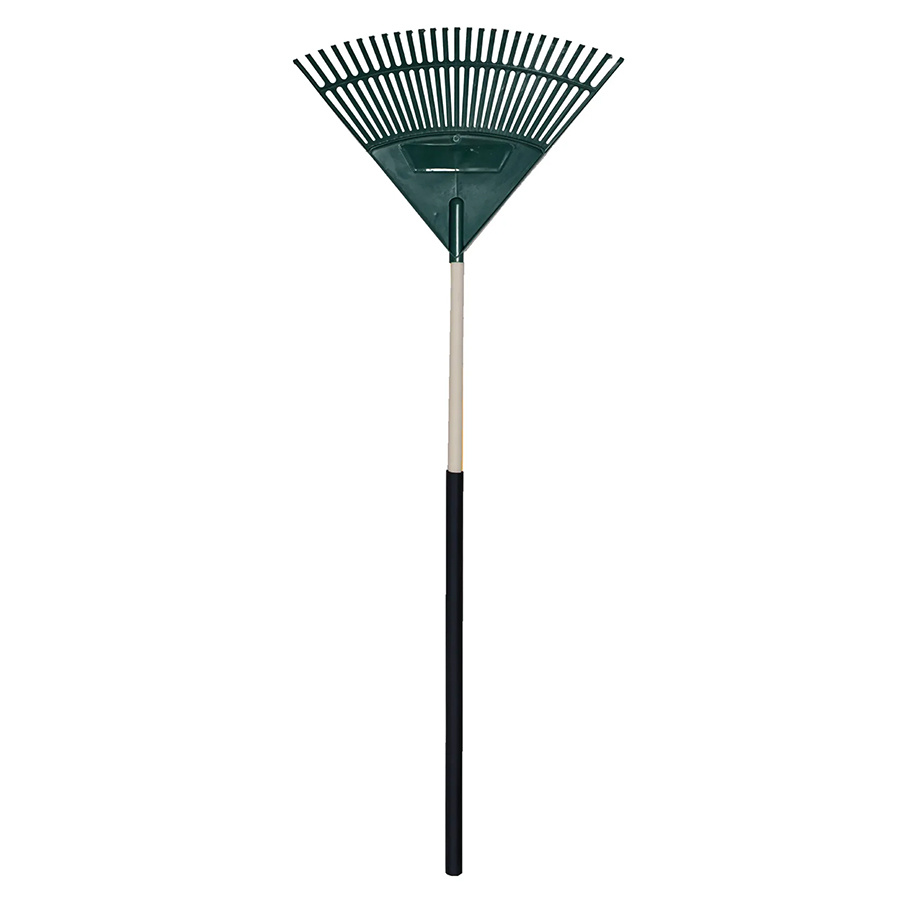
Leaf Rake
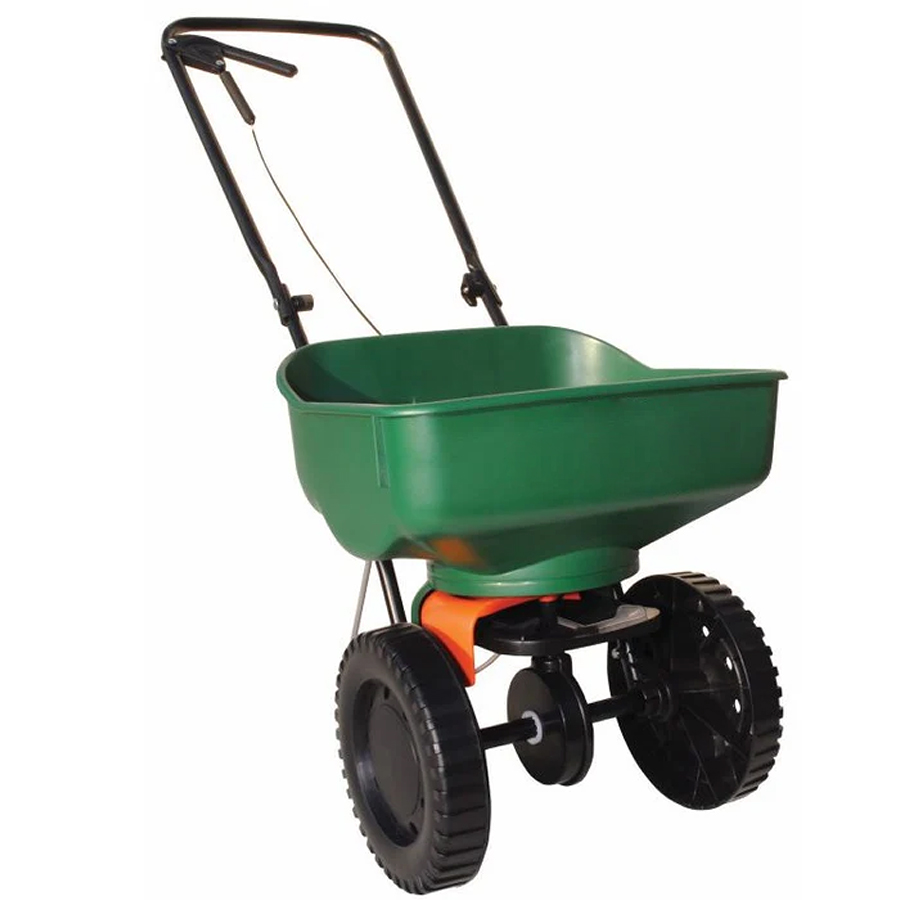
Seed Spreader
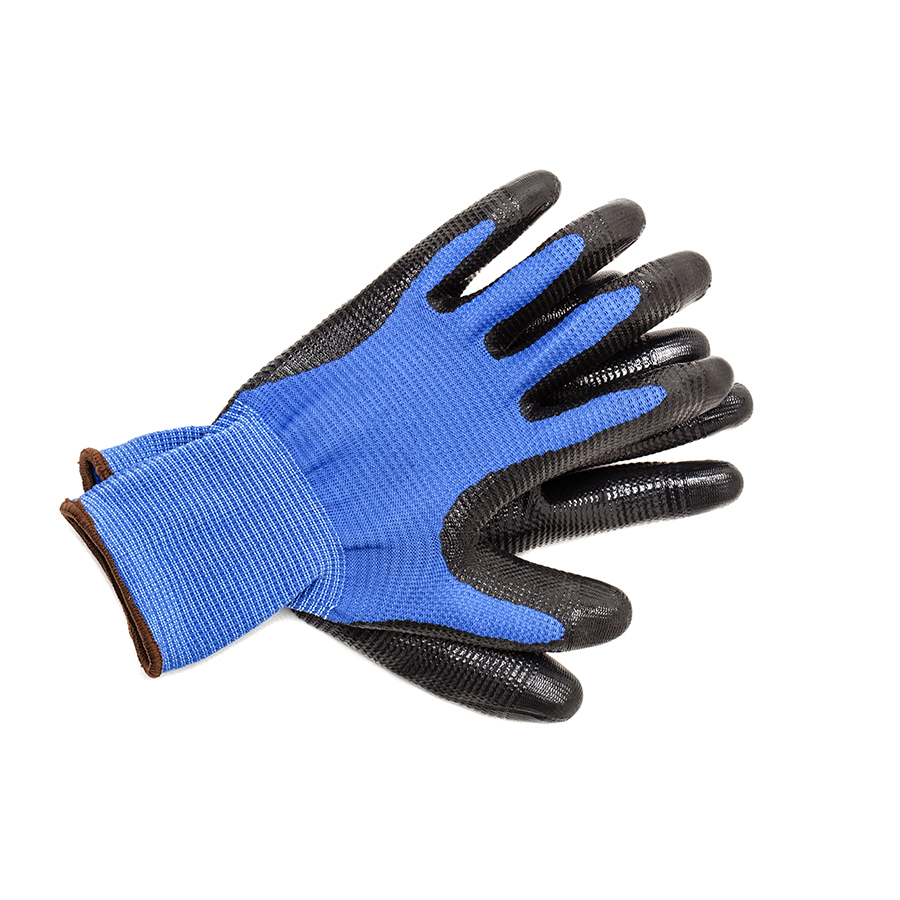
Good Gloves
Step 3: What To Do First
Quick Fix
Take a photo of what it looks like before you improve it.
Weekend Warrior
Take a photo of what it looks like before you improve it. The best outdoor photos don’t have shadows.
Yard King
Take a photo of what it looks like before you improve it and while you’re working. The best outdoor photos don’t have any shadows. Somehow mark where you took the 1st photo so you can replicate the angle as you go and when the grass grows through.
Step 4: Level the Ground
Quick Fix
Kick out the big rocks, smooth it out, and call it a day.
Weekend Warrior
Use a leveling tool or rake to smooth things over—topsoil can help fill any dips.
Yard King
Get serious with a tiller and spade—your soil deserves the VIP treatment. add nutrients for your soil type and climate.
Step 5: Existing Grass
Quick Fix
Mow as low as possible and/or weed-whack whatever is mostly standing up.
Weekend Warrior
Remove any weeds from the area you are going to cover. Weed-whack the remaining desired natural ground cover “down to the crown”.
Yard King
Remove all grass as well as those weeds that you have refused to admit were there.
Step 6: Seed
Quick Fix
Meh, if you want to. But we recommend it.
Weekend Warrior
Pre-seed with grass seed of choice (or any ground cover plant), consult the seed directions for best time of year.
Yard King
Pre-seed with grass seed of choice (or any ground cover plant you may fancy), consult the seed directions for best time(s) of year. Spread seed under Natura, so it can hold a tiny amount of moisture and heat on the soil and the seeds as they germinate.
Step 7: Acclimating Natura to Your Climate
Quick Fix
Who has patience? Just deal with any “memory” in the product during installation.
Weekend Warrior
Unroll Natura and let sit in temp of install for 30 minutes. Look at weather forecast and install on warmest day of the week.
Yard King
Let your turf sunbathe for a bit—it deserves a little relaxation before taking on paw traffic! Look at weather forecast and install on warmest day of the week.
Step 8: Installing Natura
Quick Fix
Cover the area you want to improve, cut to shape. Anchor along edges so nobody will trip, especially you.
Weekend Warrior
Always unroll and install Natura the same direction for the best look. Anchor the starting end, stretch it with a hard rake, anchor the opposite end. Overlap adjoining rolls of Natura along StaySeam™ edges. Anchor long sides, put anchors through both pieces if they are adjoining.
Yard King
Always unroll and install Natura the same direction for the best look. Anchor the starting end, stretch it with a hard rake, anchor the opposite end. Dig a small 2” trench along the outside edges and bury the exposed edges and anchor in place within the trench. Overlap adjoining rolls of Natura along StaySeam edges. Anchor long sides, put anchors through both pieces if they are adjoining. After anchoring, cover the trenches with a little dirt feathered over.
Step 9: Finishing Installation
Quick Fix
Inspect your work and anchor any areas that are waves or edges that are curling up.
Weekend Warrior
Inspect your work and anchor down any waves in Natura. Take some topsoil and sprinkle over the exposed edges to help bury them. Make yourself a cold beverage, you’re done.
Yard King
Inspect your work and anchor down any waves in Natura. Make sure your outside edges are buried and spread more grass seed along the edges to help it blend into the yard. Make yourself a cold beverage and pat yourself on the back for a job well done.
Step 10: Document Your Work
Quick Fix
Take a post-install photo. Maybe try to make the photo look level.
Weekend Warrior
Take post install photos, remember to avoid shadows (like the one of you taking the photo), share the before and after on your favorite social media platform and tag #NaturaTurf .
Yard King
Go back to the same spot you took your pre-install photo and take post install photos, remember to avoid shadows (like the one of you taking the photo), share the before and after on your favorite social media platform and tag #NaturaTurf .
Step 11: Help the Grass Grow
Quick Fix
Keep the area a little wet until grass has grown through. Move on with your life.
Weekend Warrior
Water the area often, but not for too long. Keep it damp until grass is about 3” tall.
Yard King
Water the area daily, at a time when the water will not evaporate or encourage fungus (not mid-day or late evening). Keep it damp until grass is at least 3” tall, watch for any leaf wilt stress for the next 2-12 months (you know what that is, right?), water accordingly.
Step 12: Mowing
Quick Fix
Yep, once grass is 3” tall or higher, bring out the mower.
Weekend Warrior
Yep, once grass is 3” tall or higher, bring out the mower.
Yard King
Yep, once grass is 3” tall or higher, bring out the mower.
Step 13: Seasonal Care
Quick Fix
Seed it again as you desire, or when your neighbor gives you grass seed.
Weekend Warrior
Refer to your seed directions and “over-seed” as directed. You know you threw the seed bag away already, so maybe just go online.
Yard King
Refer to your seed directions and “over-seed” as directed, you can do the same with other nutrients.
Step 14: Brag
Quick Fix
Mention often to your family how much cleaner the dog is and how the yard looks greener now.
Weekend Warrior
Your dog’s paws are cleaner, your yard is greener, and your social media is about to blow-up. #NaturaTurf .
Take more photos of the grassy area that never could grow grass before. Do a before and after comparison and post a humble brag post on your social media or neighborhood app.
Yard King
Your dog’s paws are cleaner, your yard is greener, and your social media is about to blow-up. #NaturaTurf.
Take more photos of the grassy area that never could grow grass before. Do a before and after comparison post. Share your dominance over your yard with anyone who will listen.
You’ve done it! Natura is installed and you should have grass growing through where the conditions are right. Now, what are you going to tackle next?